Does ceramic stick to plaster?
Does ceramic stick to plaster? What kind of tile sticks to plaster? Considering that the walls and the bottom surfaces of the tiles are often made of plaster, the concern of many people in the construction process is whether the ceramic tile adhesive is enough to stick on the plaster wall or not? In this article, we will examine the property of plaster and primer of plaster surfaces
Materials required for installing ceramics on plaster
As you know, we need special tools to install ceramics on plaster; Items that can be purchased from stores. Devices such as:
ceramic
Sealant primer
Notched trowel
roller
Measuring tape
pencil and eraser
Ceramic glue
Ceramics
slurry
Cloth or sponge
Does ceramic glue stick to plaster?
Due to the property of water absorption of plaster, some of the tile and ceramic adhesive is absorbed to the plaster wall. In this case, special materials should be used so that the tile glue sticks less to the wall. Plaster surface primer, latex glue and similar products are useful for this.
Reinforced concrete glue or gypsum primer is a milky colored thick liquid made on the basis of acrylic paint. This product is very suitable for installing stones such as antique stone, wall covering, wall paper and painting on plaster and wood.This product is made in such a way that it largely controls the ability of water absorption by plaster and reduces the permeability of the surfaces. It is enough to know how to use it before starting work. This adhesive is also used as tile latex adhesive and due to the high concentration of this product, it should be combined with a certain amount of water.
How to stick ceramic on plaster?
1. Prepare layout
To install ceramics on a plaster floor, you must measure the desired tiling surface and then arrange the tiles and ceramics on the plaster. This allows you to see the installation view and make the necessary changes before installing the tile to the wall. Try to make the arrangement so that the circumference of the tiles is less.
2. Marking on the wall
Find the center line of the wall using a measuring tape and create a vertical line in the middle of the wall.
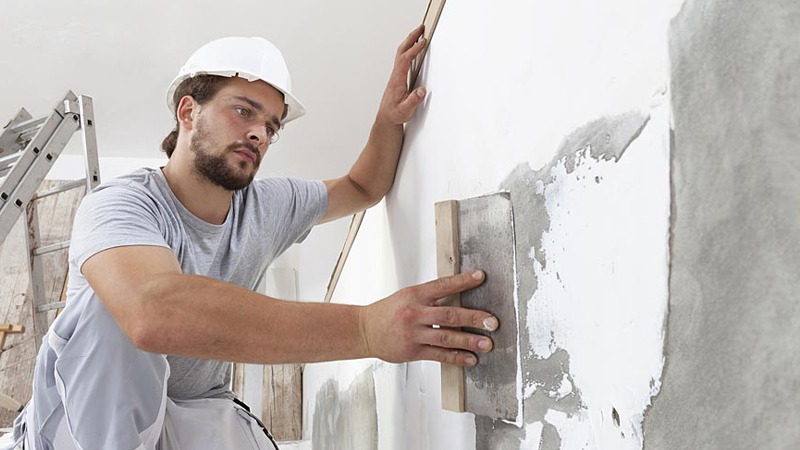
3.Applying glue on the plaster wall
Apply a thin layer of adhesive to the marked line using a notched trowel on the wall. In drawing the horizontal movement, make sure that the spread of the glue is in the direction of creating a square of about 3 feet in size with a thickness of about 1 / 8 inch.
Hold the trowel at a 45 degree angle and move carefully so that the stack is equal in size and thickness throughout the square. To make sure the glue underneath is thin enough, the pencil line below should be visible. Note that the adhesive dries quickly, so the tile should be installed immediately after applying the adhesive.
4. Installation of ceramic tiles
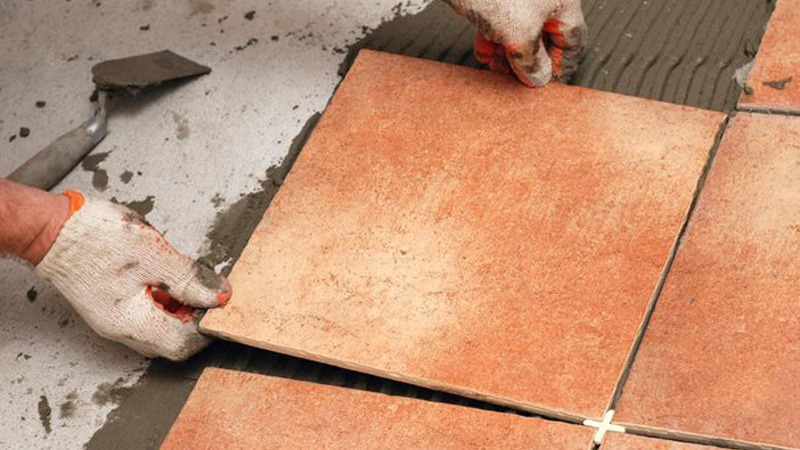
Setting the ceramic tile on the plaster first creates a border with a pencil line along the edge of the tile on the adhesive layer. Align the tile next to the first tiles and then place the next tile next to it.
Form a new layer of glue next to the tile.and apply a new ceramic tile on the plaster of the next row.
When all the tiles or ceramics are installed on the wall plaster, wait for 24 hours and then remove the tile spacers.
5. Drawing grout on the wall
When the wall is dry, apply a thin layer of mortar using a rubber trowel from top to bottom. Press the mortar until the grout goes deep into the gap between the tiles and is level.
Gently wipe the surface of the tile with a damp cloth to remove excess mortar. Allow the wall to dry for at least two to three days, depending on the type of grout

 IR
IR  AR
AR 


